Update on new sewing machine (Singer 99K-31)
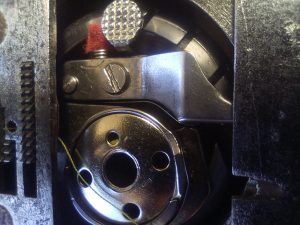
When I started using the new machine, it was Ok, but was noisy and strained a bit to get going. In addition it would not hold a stitch length. This last problem may have been just a loose screw, but it also could have been due to friction in the drive train. The rust was worse than I thought, most of the chassis of the machine was showing signs of rust under the black Japanning. I have therefore spent the last few weeks stripping every single part off the machine, including the vertical shafts that drive the hook and drive dogs, and the main shaft that drives the needle and top tensioning. Not a lot on the web on about taking the main shaft out of a 99, and no, it’s not the same as a 66. It’s not as hard as it looks, it just takes a bit of bravery, and some knowledge of the engineering of the day.
I then scraped all the Japanning off the chassis, some of which came off with the rust, some needed a bit more persuading. Once clean, I gave it a couple of coats of a heavy duty primer, and applied some black enamel, flatted it down, and applied some more, and repeated it again!
After waiting a week or so for the enamel to cure, I started reassembly, cleaning every single piece with a rotary tool (think Dremel) using wire brushes and hard felt pads and a cleaning compound.This made reassembly a bit of a chore, but after the big job of re-inserting the two main shafts, the rest is reasonably straightforward. Finally, adjustments were made to the drive dog fore and aft, side to side and vertical position,and to the needle bar height and the needle to hook timing, and also to the presser foot, upper and lower tension.
Most of these adjustments were made twice, as something slipped after a few minutes use, and the easiest way was to start again.
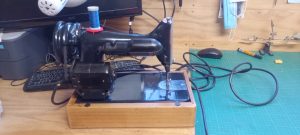
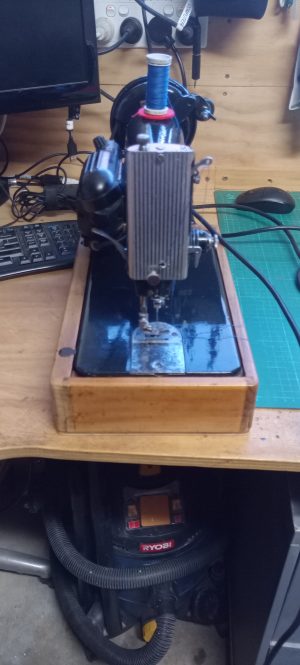
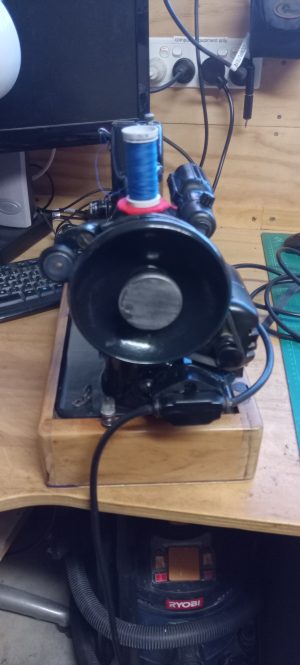
Next job is to clean up after all the work, and polish the paintwork to a better shine, and the make some nice simple decals for it. In the mean time I will put some photos up here.

I also found out how to replace the oil wick on the Bobbin Carrier Mounting Position Bracket, that lubricates the bobbin carriers contact with the horizontal hook. It was missing by the time I had finished cleaning and rebuilding the machine.
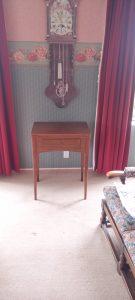
Today (11/9/24) we managed to find a Singer type 72 cabinet for a 3/4 size machine, specifically a 99-31 or 99k31. It may also be or alternatively be a cabinet type 354 ‘Ardmore’. While it seems to be quite common here in NZ there is not a lot of documentation on it. Finally, I have seen it called the “Cadet Cabinet” when fitted with a Singer 99k, and the “Senior Cabinet” with a 15k or a 201k installed.
The cabinet was in a back room in a slightly upmarket junk shop in Carterton NZ. It had been badly converted into a hall table, fortunately not too much damage had been done. The flap that supports the front of the machine had been attacked with a saw, and the ledge that supports the machine had been removed. A piece of wood the shape of a 99k base had been attached using 1″ nails and a piece of plywood, which may have been part of the apron (the panel under the machine that stops oil drops and pins falling onto the floor) which had been removed. Finally the foot controller bracket had been removed. I tried to bargain with them, but the best I could get it for was NZ$100.
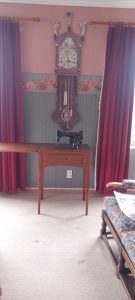
This is exactly the cabinet our new machine would have come in if it hadn’t been bought in a bare bones wooden tray! These two items will be brought together, the cabinet will be repaired and restored, and we will have a pretty unusual combination here in NZ. I have also ordered a foot controller bracket and a knee lever from the USA on ebay. This table appears to have never been fitted with a knee controller, probably because it would not fit with the apron in place. I think putting one on and rethinking the apron (think oil drip tray) will make the combination more complete and possibly unique.

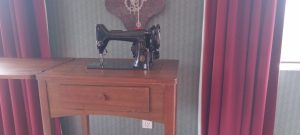
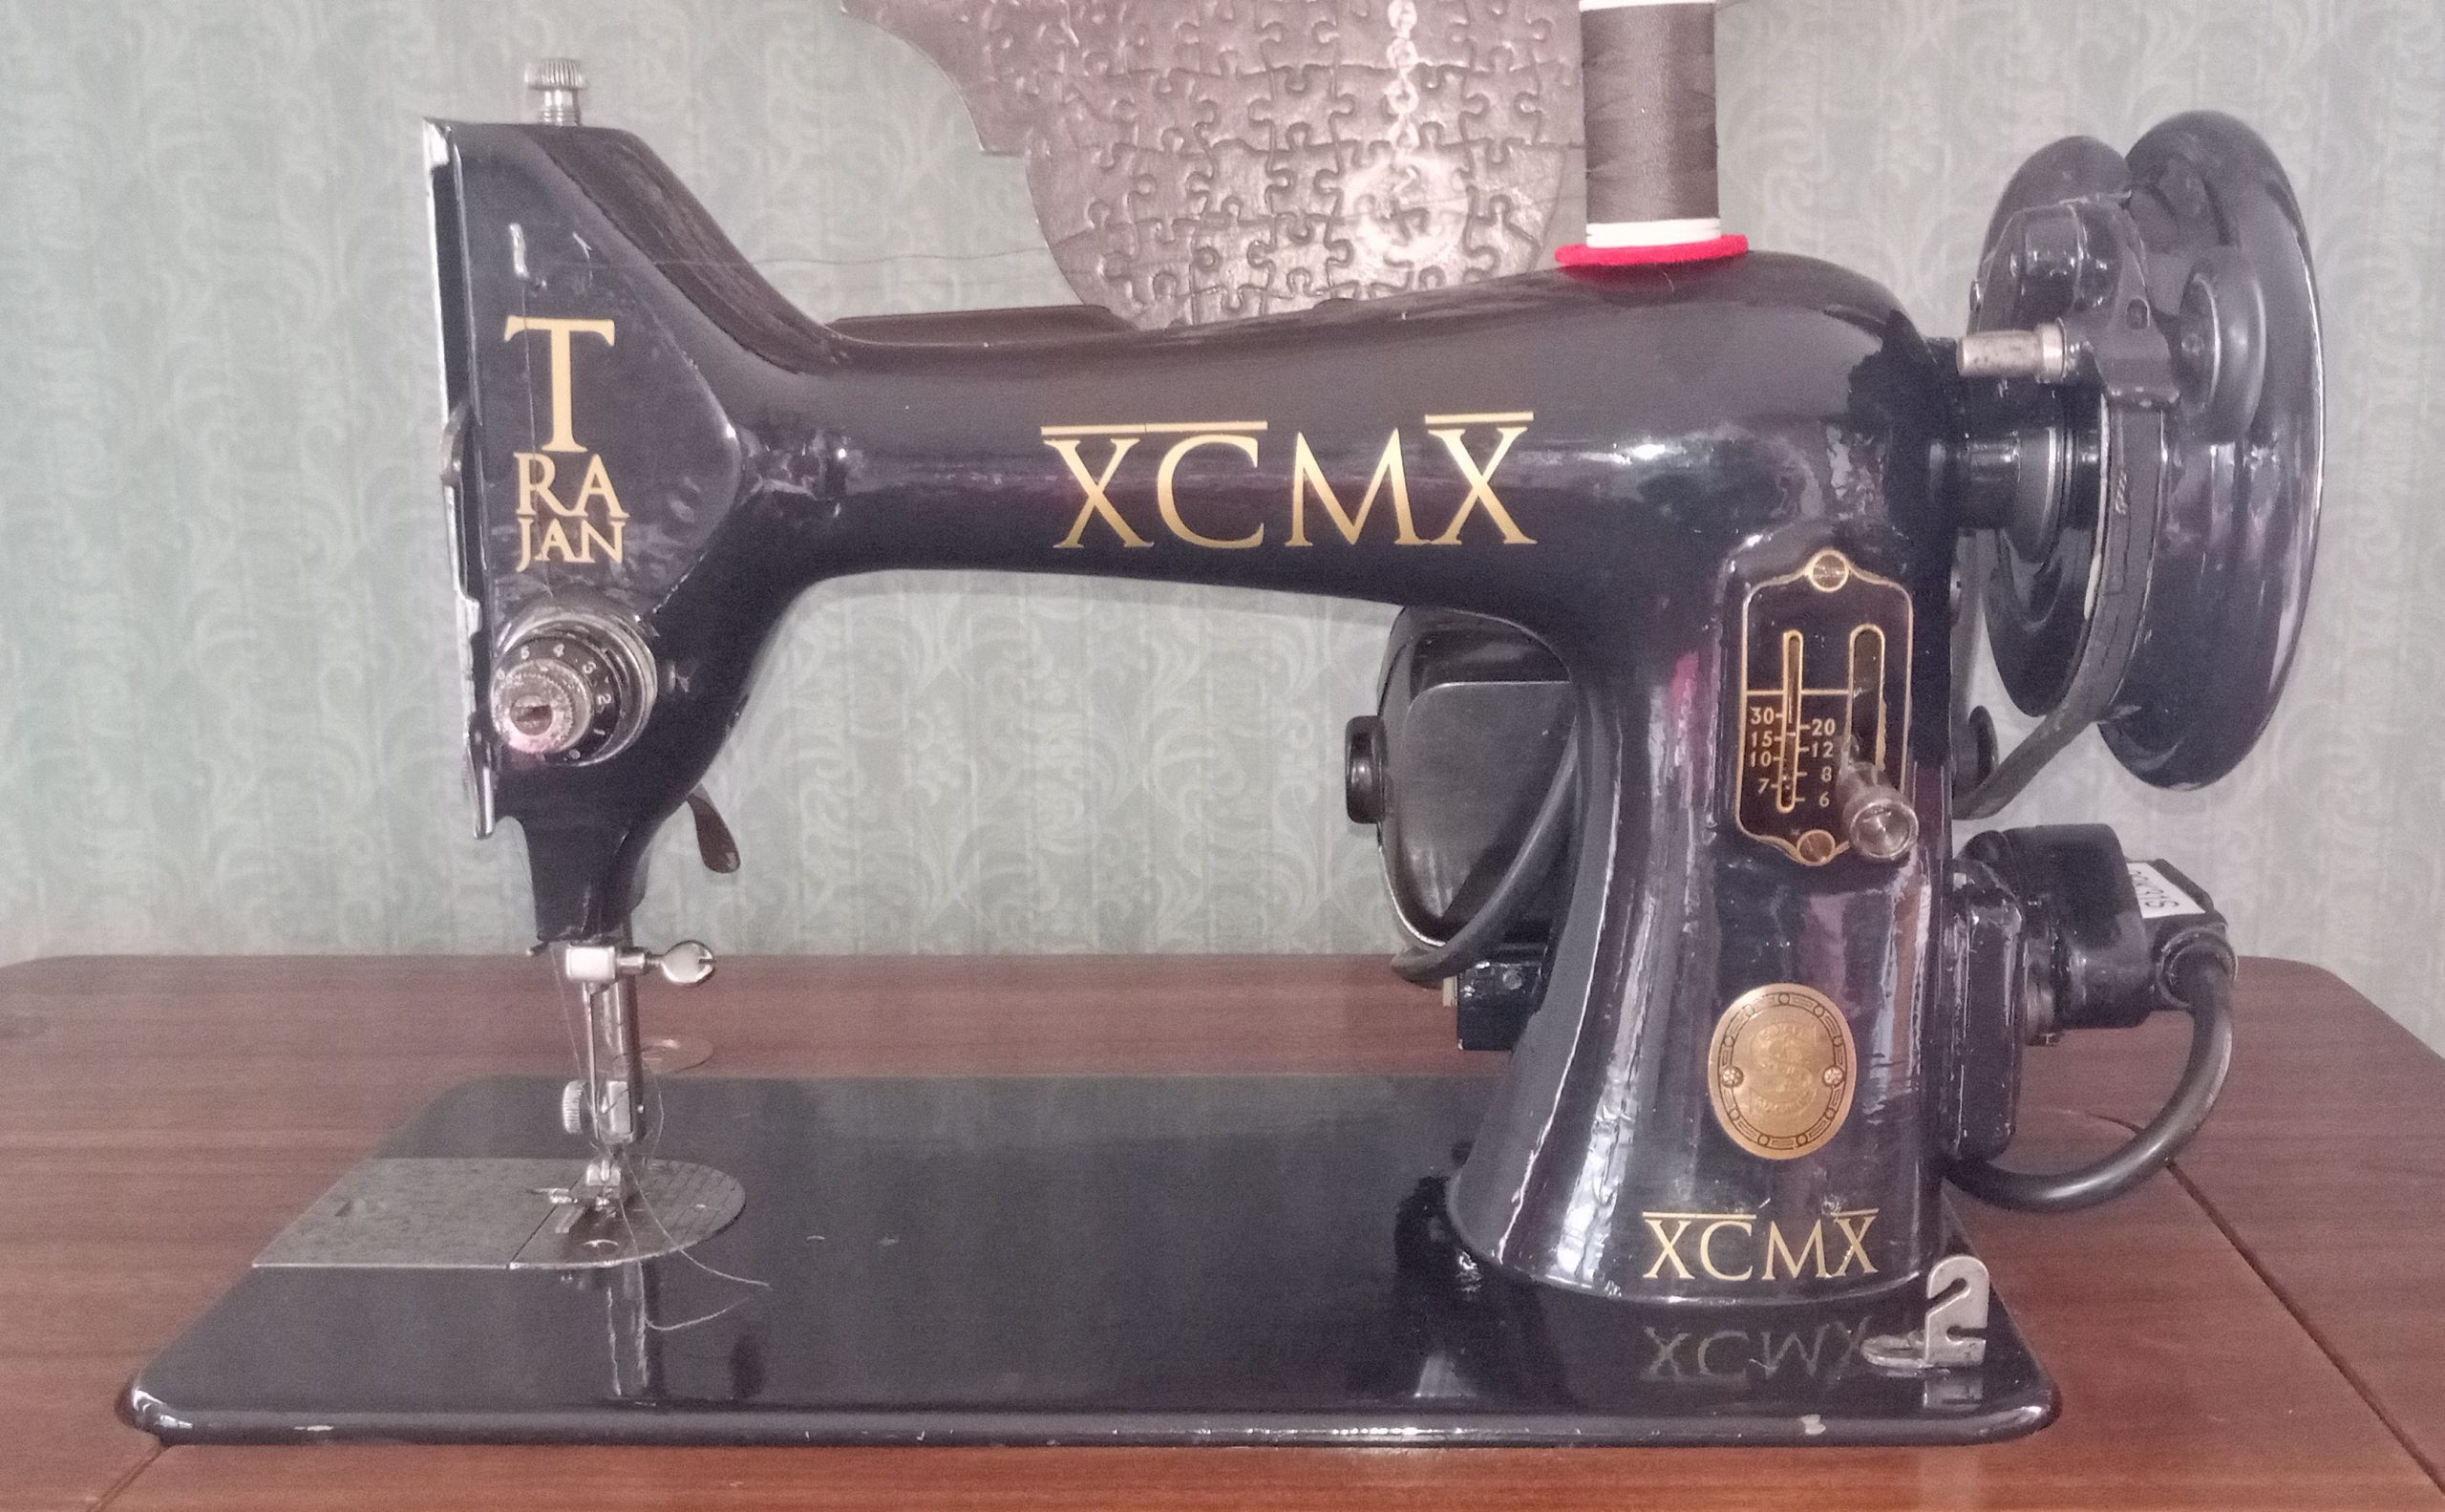
Finally, I devised and added some decals to give it a bit of personality and some personalisation!