Digital Singer 319k part two
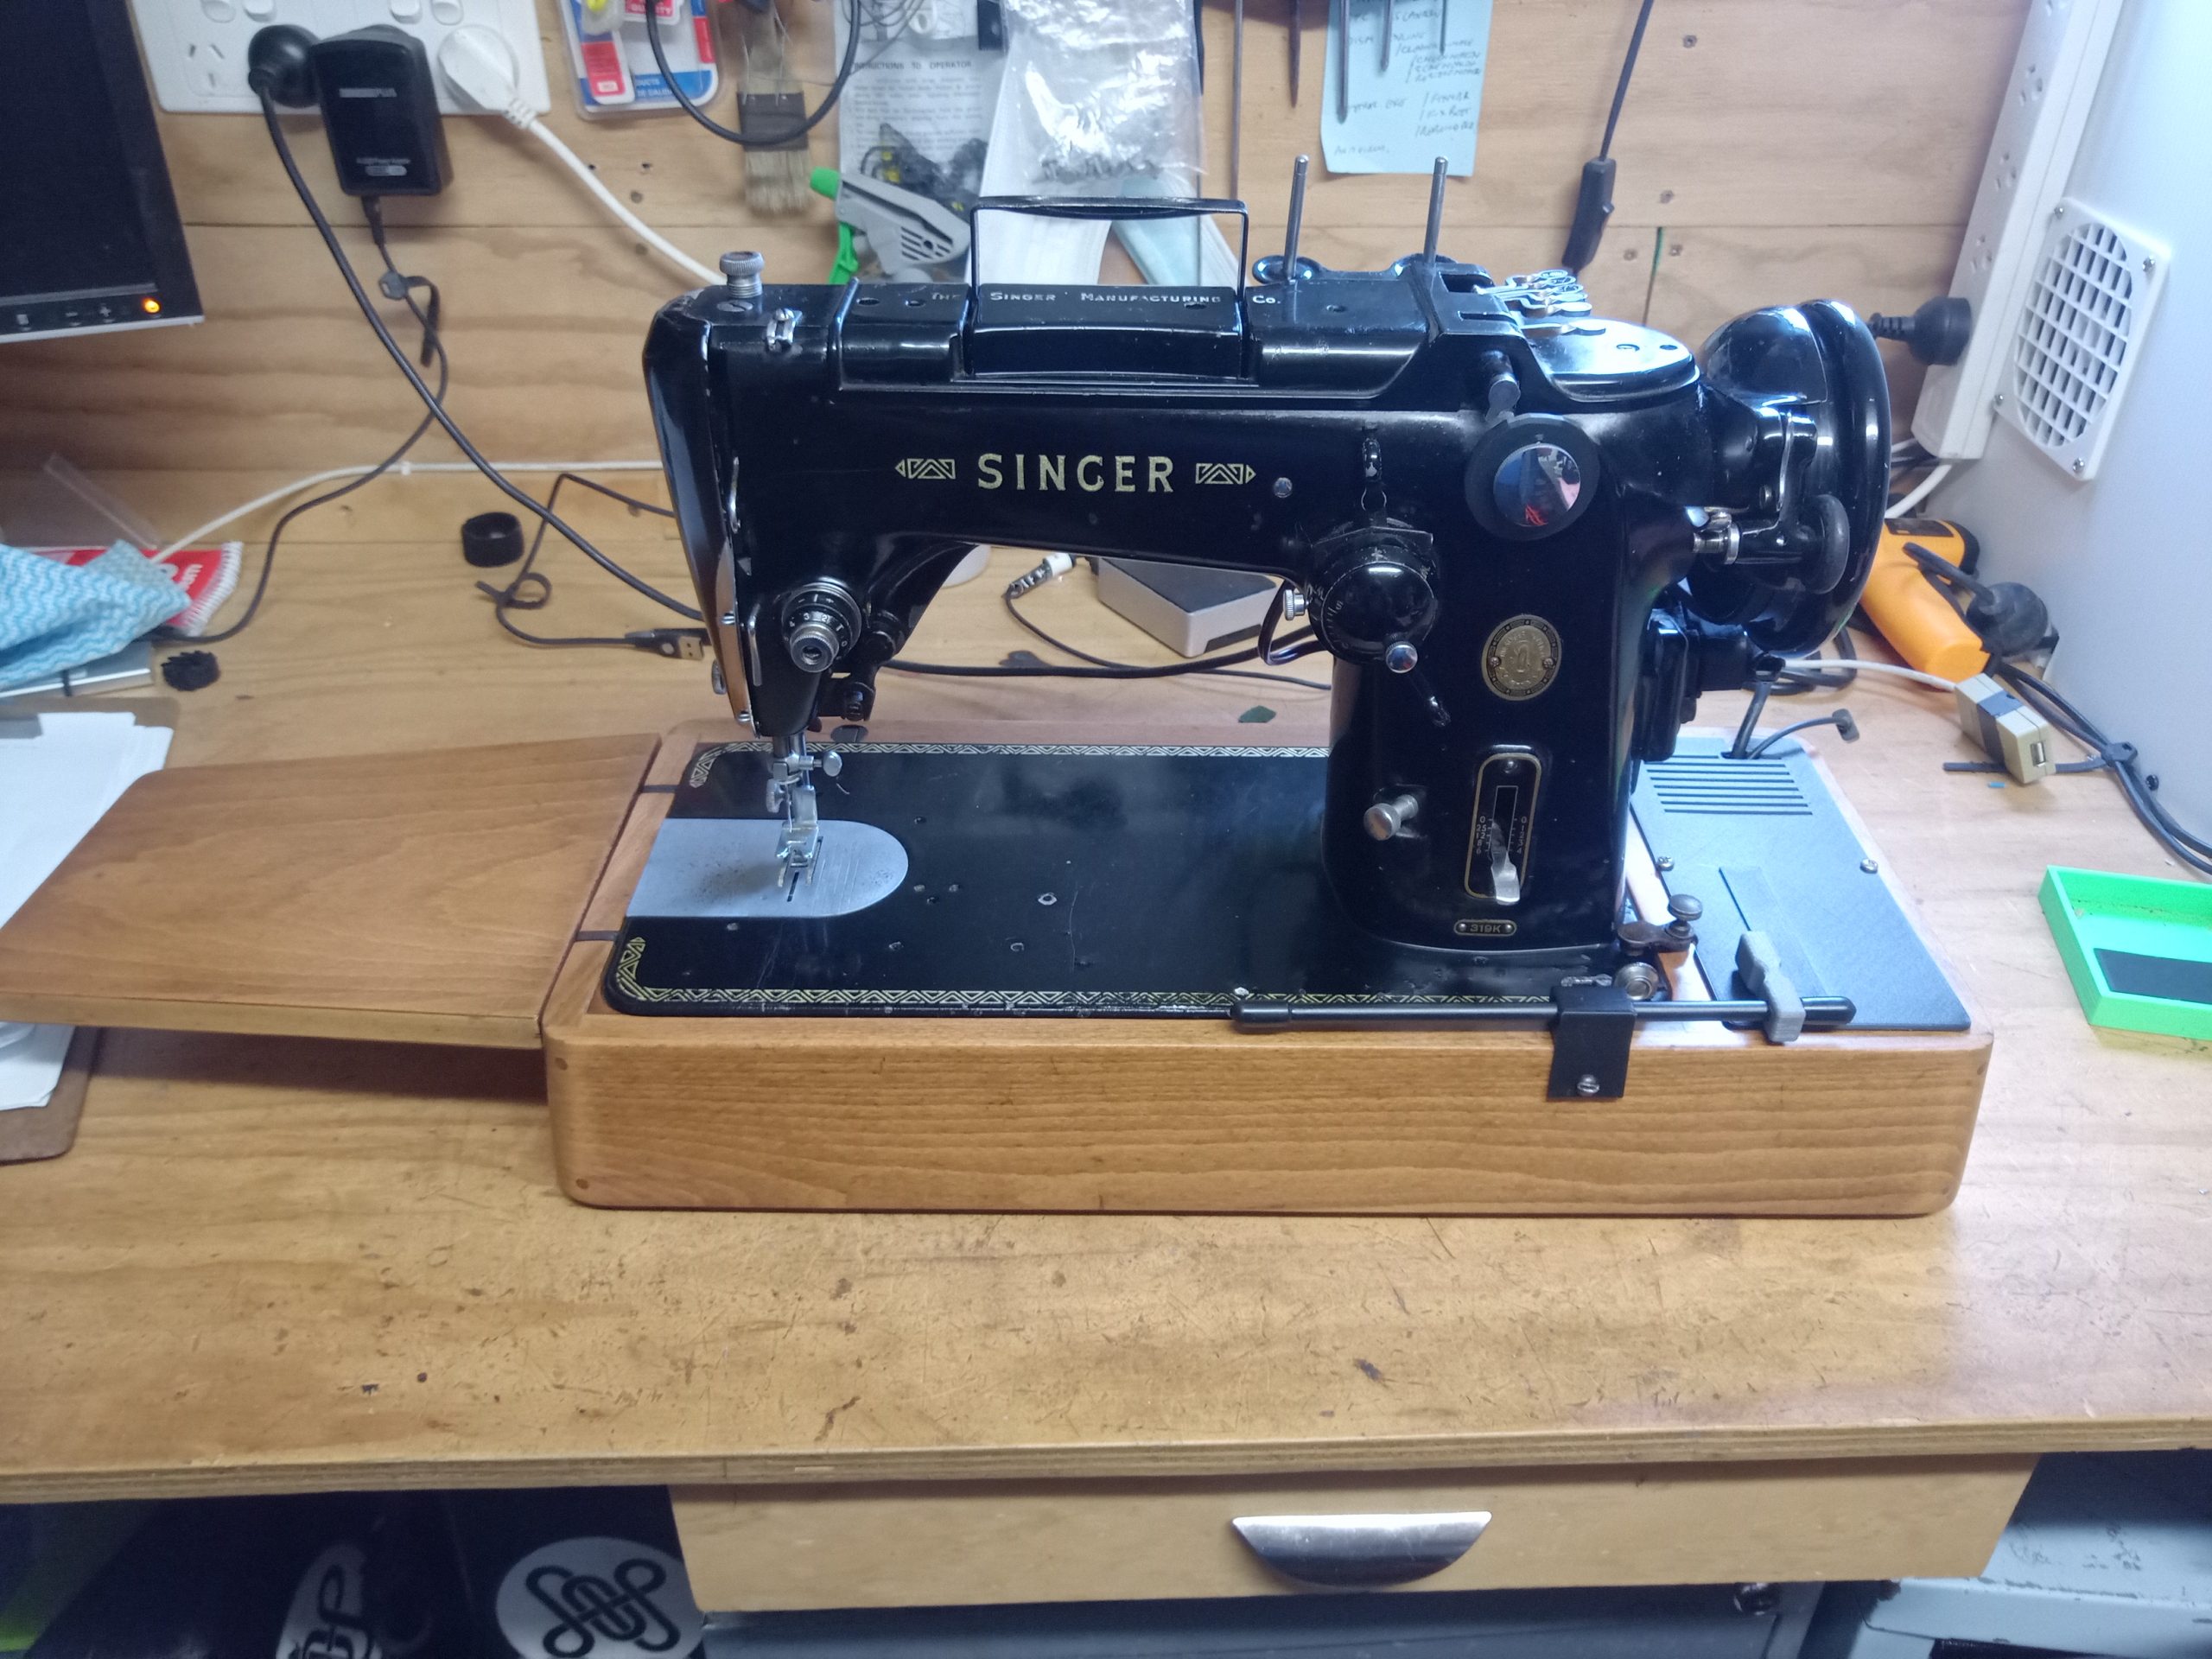
In this post below I started the journey towards my dream machine, a vintage Singer 319K with a digital motor controller.
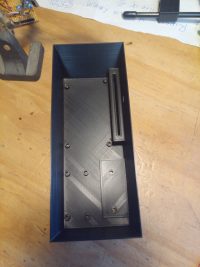
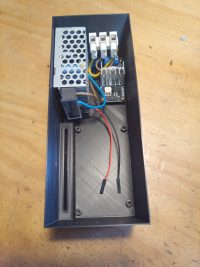
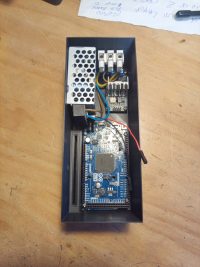
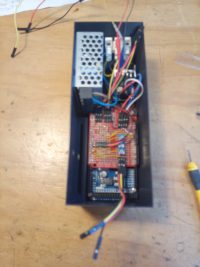
I got to a working prototype stage, then stupidly plugged a normal power cable into the machine, not realizing that the machine was wired up perfectly safely, but did not match the way Singer wired up their machines. Net result a burnt out PWM module, a tripped household breaker, and the realization that you can’t put mains voltage across a triac with impunity. The wiring was fixed immediately, but getting another PWM module took a while, then other projects got in the way. A week or so ago I got back into it and started designing and making the 3D parts for the controller box, to hold the Arduino, the PWM, a power supply for the Arduino, a shield for the many connections to the Arduino, the slide pot and a stop go switch.
Having got that all working, the connection shield was redesigned onto a proper duinotech prototyping board, in order to make it look a little more professional.
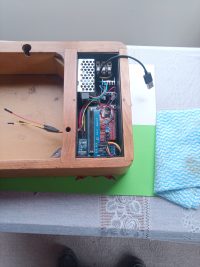
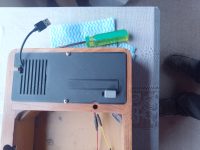
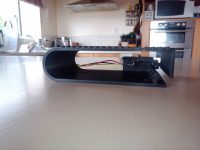
I restored the wooden base by stripping the old damaged varnished surface back to bare wood, sanding to silky smoothness, applying several coats of Danish oil, and adding a couple of coats of a good wax. I then built the controller into its new 3D printed box, installed it into the cubby in the polished case, added a nice black lid with a recessed speed control and a stop/go switch, and connected a hand control to the switch to make it easier to use. The pictures below show the build of the controller into the case.


There were a couple of issues with the connector shield, one of the trim pots that controlled the rate at which the speed ramps up, was faulty, and had to be removed and replaced. There were a couple of dodgy solder joints I had to remake too.
With working hardware I started tweaking the software which I had mostly finished before the incident. The software has a few features which make the most of the limited power of the motor to make sewing easy.
These are:
1. When the go switch is activated, a single stitch is made at full power, which reduces the groaning and stalling which happens when trying to start off slowly.
2. After the first stitch, the power is reduced to a level which is determined by the position of trim pot 1.
3. It stitches at this reduced power, and therefore speed, for a short period controlled by the position of trim pot 2.
4. It then ramps up the speed from the start up speed to the run speed. The rate it ramps up is controlled by trim pot 3. The run speed is controlled by the position of the slide potentiometer in the lid of the controller. This can be preset, or can be changed while the machine is running.
5. At any point in the steps above, the go switch can be released, and the machine will stop after completing the next stitch. This was supposed to leave the needle at the top of it’s stroke, but the machines momentum takes the needle beyond this point.
This video shows how the hand control starts the machine with a “punch” of power to get it moving, then runs at a slower speed until it ramps up to full speed. It also shows varying the speed while sewing.
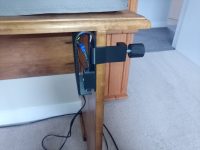
I have designed and 3D printed a foot switch which will plug into the controller and control the stop/go switch, unfortunately I destroyed my two remaining slot optical sensors, and had to wait for delivery of another batch from China. The controller is a single piece 3d print, with the case being designed as a spring, the optical switch mounted in the body, and a small tag built into the moving half of the case the travels in and out of the slot in the optical sensor. The Slot Optocoupler sensors arrived in record time, I have put a new one into the foot controller, tidied up the connections and wiring. This finishes the machine off nicely. There are now 5 ways to control the machine. The hand control will work directly off the slider built into the lid, the lever attached on a bracket on the case and to the slider on the lid can be used as a pull lever to the left of the main column, or as a push lever to the right of the column. The length of the lever to the right or to the left can be easily changed as required. The foot controller can be used on the floor and works great like that, leaving hands free to guide the workpiece, vary the speed with the slide potentiometer in the lid, or to change direction, the bight or the needle position as one sews. Finally, I created a neat G-clamp to attch the foot controller to the side of my sewing table, where it can be activated with my right knee, just like my 3 knee bar machines.

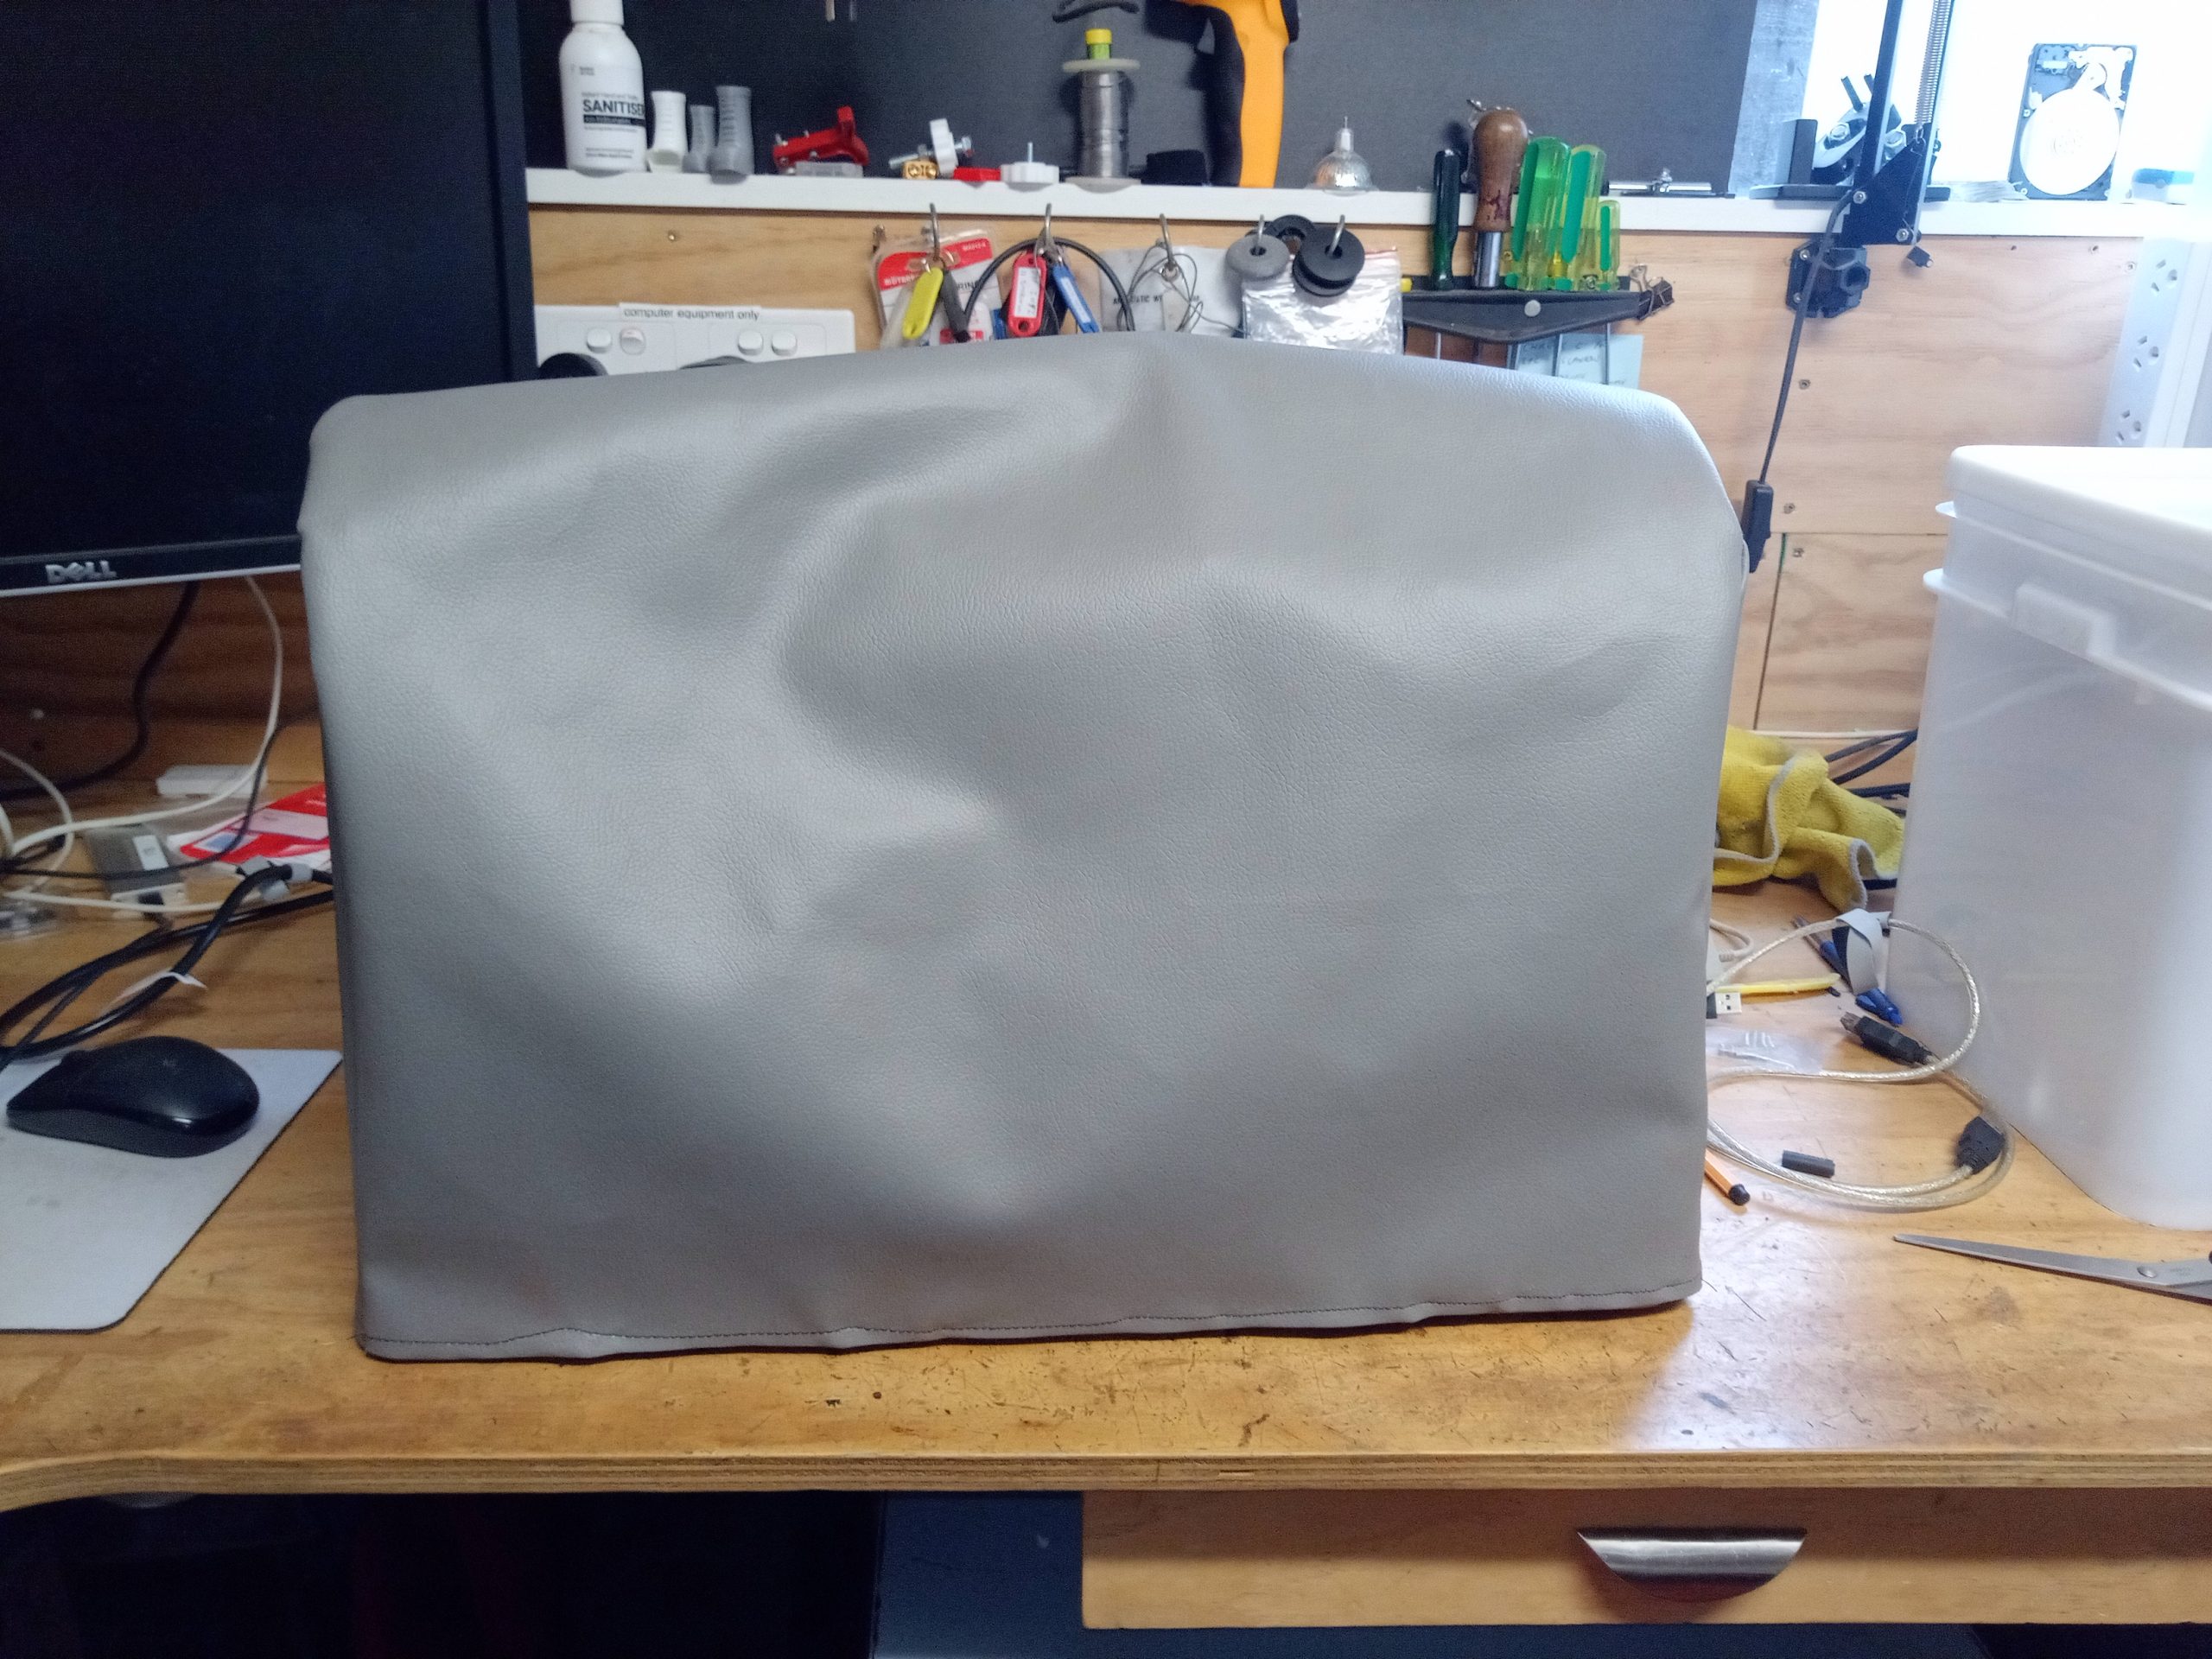
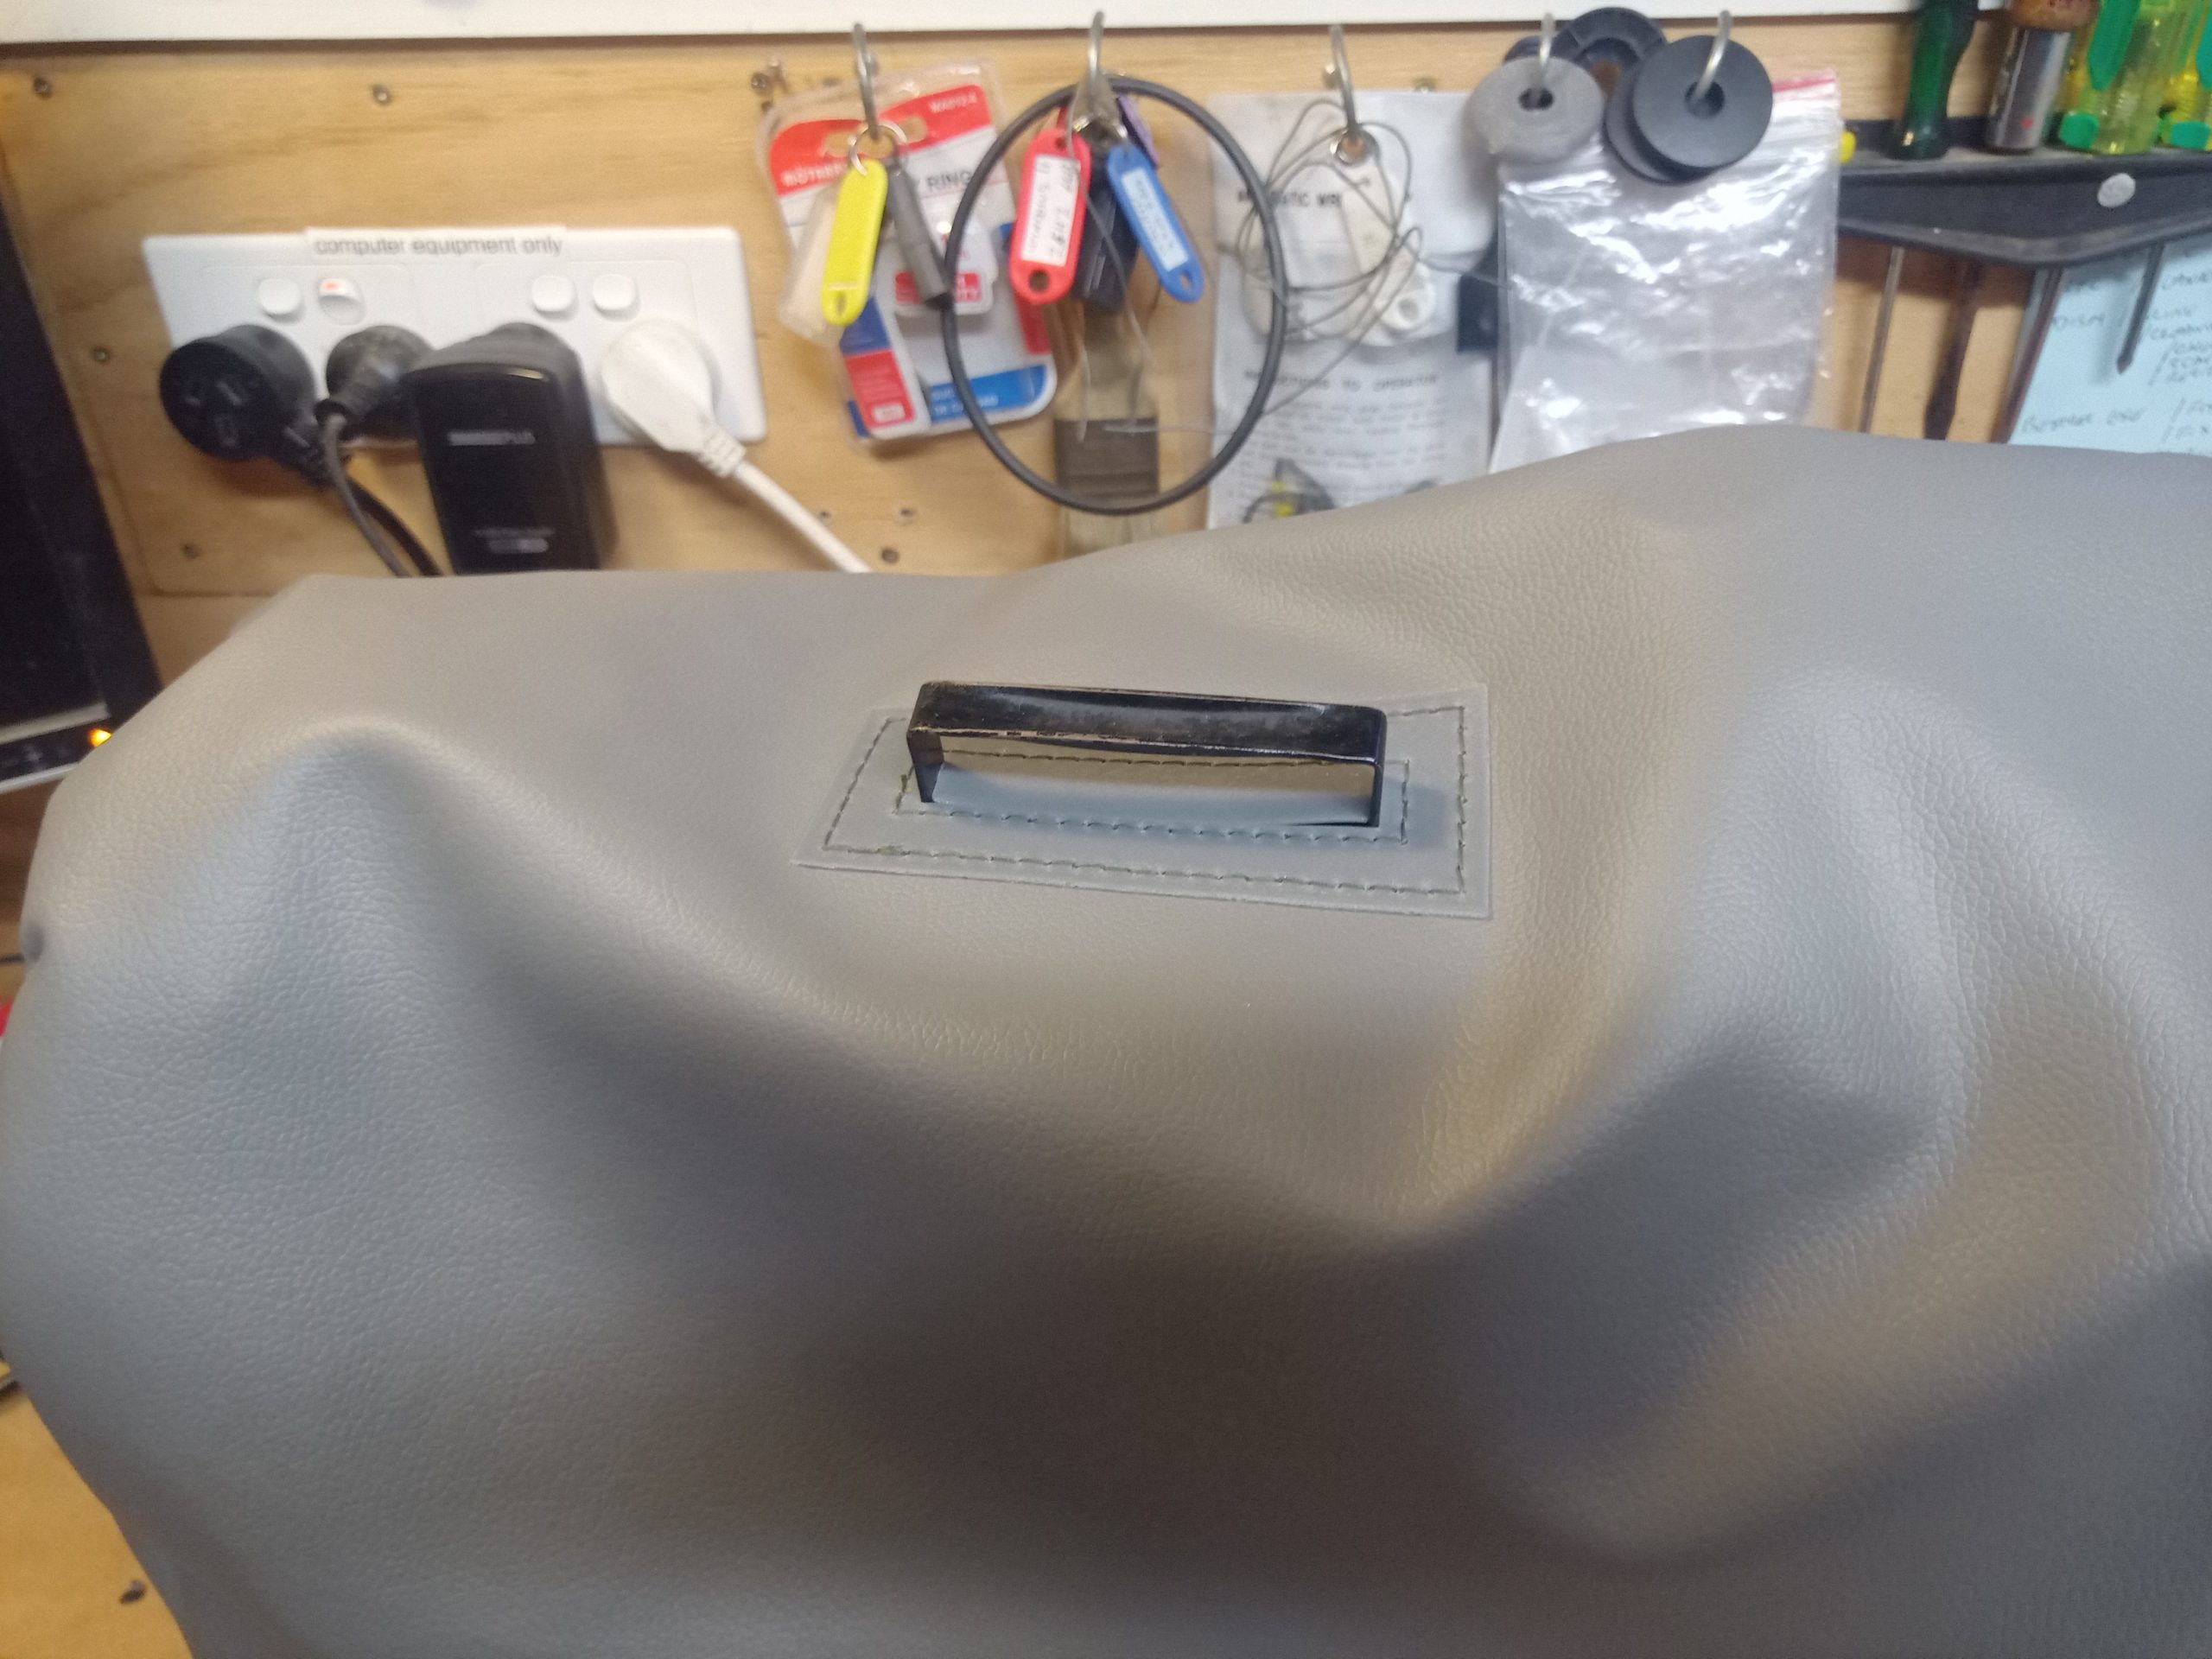
The first sewing project for the mostly finished machine, using the digital speed controller is a new soft cover for it. I will put some Singer decals on it eventually, but I needed a cover for while it lives in my computer workshop.
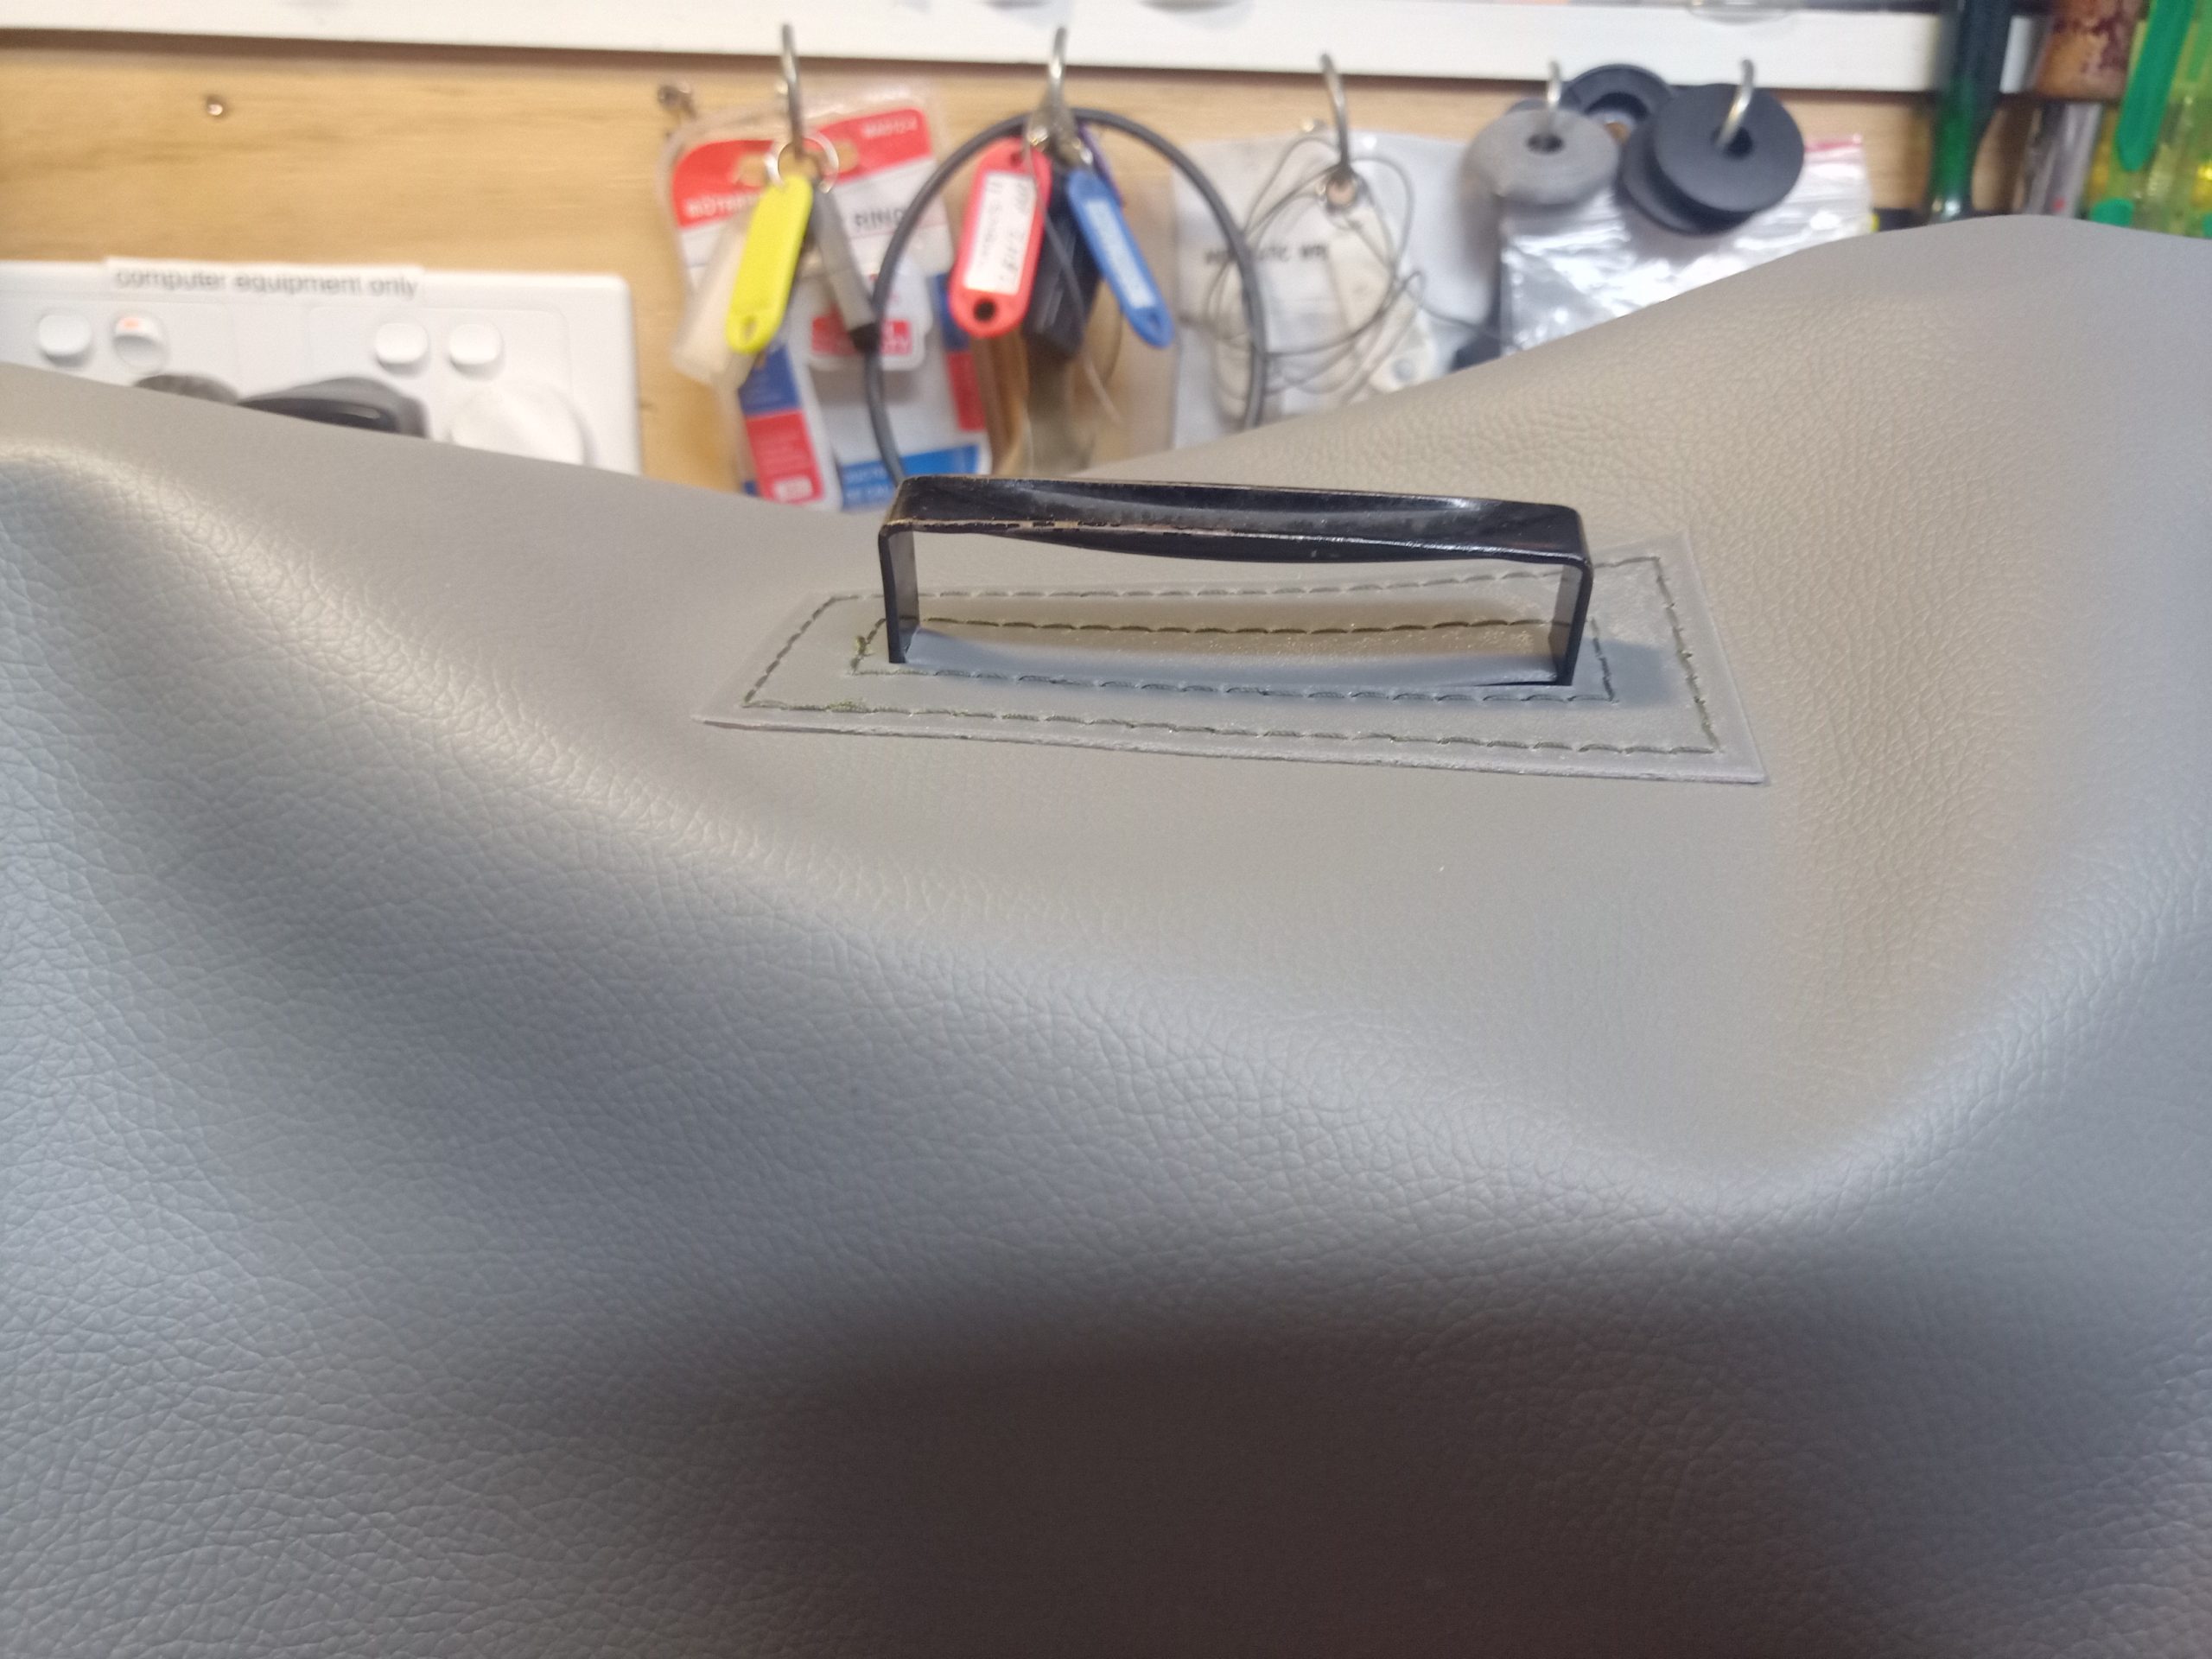
I made a hole in the top of the fabric cover so that the built in carry handle on the machine can be passed through the cover to carry the machine with the cover on. I 3D printed a piece of TPU to reinforce and hide the edges of the hole. This was printed with holes though it to allow it to be saddle stitched to the cover, and it does look rather nice as well as keeping the dust outside the cover, whether the handle is in use or not.
So why so much effort on this machine? It’s been a couple of years since I acquired my first rescue machine, a 99K which was rusted solid, which is my first and most personal machine. Since then I have acquired another 99K, a 185K since sold on, a 201k of the old style, a 201k of the later style which I have passed on to my son-in-law. I have a very late model 15K110, and a 306K which uses fashion discs. If you know your machines you can see a progression from the simplest and cheapest machines, to smoother and more complex machines. The 319K is the in my opinion the best machine in my collection, and possibly the best and last real black and gold Singer. If you offered me a 320K I may take it off your hands to try it out though.
What does this machine do which the others don’t? Well firstly it’s a tough machine, not industrial as some say, but it has some industrial history back before the 206 was developed. It is a swing needle machine, so will zig zag stitch. It uses fashion discs,and came with a full set of 31 patterns, 5 of which are mounted in the machine permanently and operated with some pretty keys on top of the machine. The fashion discs can be combined with one or more of the 5 keys, giving literally thousands of different stitch patterns the vast majority of which will be pretty useless.
The standard needle is a 206×13, and these are only available in a size 12 or 14 with a sharp point only. These can be used for zigzag and all the stitch patterns. If I want a bigger range of sizes, I can use DBx1 needles, which are round shank but are a close match to the 206x13s, and come in a much bigger range of sizes, and can be used with the zigzag etc.
If I need to sew very heavy duty stuff like tents and other canvas, I can use any size of 15×1 needles quite safely, and can even zigzag with the bight set to less than 3.
Finally this machine will use twin needles, and is designed to use the twin needle version of the 206x13s. These are very rare, mostly new old stock if you are lucky, or used if you are desperate. I did find a supplier of a twin needle close enough to the original, but the cost was in the region of $80 delivered to NZ. However, I have tested the twin needle version of the 15×1 with a 3mm width and it sews just fine. Twin needles have very limited ability to be used in zig zag stitching because of the width of the stitches compared to the bight, and this is even more limited with the 15×1 twin needles, to the point where I would say “don’t do it”. I may try the 4mm version of this needle one day, but I think it may foul the hook mechanism.
So this it, my Dream Machine. Now I have to start leaning how to sew properly, and this is the machine I want to do it on.
April 22 – update.
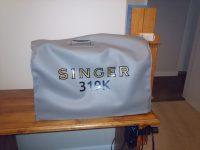
I finally put some decals onto the sewing machine cover I made. I struggled with finding a logo, or making a logo from pictures. Wikimedia eventually provided a logo, which was trimmed and adjusted in Inkscape, and plotted with a piece of software called Switchblade, which I have modified and customized to suit my requirements.
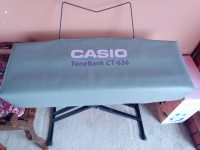
I also finally got round to doing some more sewing on it, making a cover for our Casio keyboard. The machine is an absolute dream to use. Very controllable and manageable. My sewing has improved 100% or more! Switching between straight stitch and zig zag is easy and intuitive. I love it.
Code for the arduino as inspiration for others!
#include  //https://github.com/RobotDynOfficial/RBDDimmer

// set up analog pins for Slide pot and trim pots
#define runSpeedPin A4
#define startPin A1
#define durationPin A2
#define rampPin A3
//set up pins for switches for interrupts
#define needlePin 11
#define handPin 10
#define footPin 9
//set up pins for PWM module
#define ZC_PIN 12
#define PWM_PIN 13

dimmerLamp motorControl(PWM_PIN, ZC_PIN);

volatile int stopGoStatus = 0;
volatile unsigned long stitchCount = 0;

int runSpeed = 100;
int startSpeed = 0;
int runStatus = 0;

int thisSpeed = 0;
int lastRunSpeed = 0;
int lastStartSpeed = 0;
int lastRamp =0;
int lastStopGoStatus = 0;


unsigned long duration = 0;
unsigned long lastDuration = 0;
unsigned long startTime;
unsigned long thisTime;
unsigned long ramp = 100;

const int punchSpeed = 85;
const int stallSpeed = 40;
const int maxStart = 60;
const int minRamp = 10;
const int maxRamp = 200;
const int maxDuration = 5000;
const int minDuration = 0;
const int speedStep = 1;

const bool settingup = 1;


void setup() {
Serial.begin(9600);
pinMode(runSpeedPin, INPUT);
pinMode(startPin, INPUT);
pinMode(durationPin, INPUT);
pinMode(rampPin, INPUT);
pinMode(needlePin, INPUT_PULLUP);
pinMode(handPin, INPUT_PULLUP);
pinMode(footPin, INPUT_PULLUP);
attachInterrupt(digitalPinToInterrupt(needlePin), needleInterrupts,FALLING);
attachInterrupt(digitalPinToInterrupt(handPin), handInterrupts,CHANGE);
attachInterrupt(digitalPinToInterrupt(footPin), footInterrupts,CHANGE);
motorControl.begin(NORMAL_MODE, OFF);
}

void loop() {
   setParameters();

  if (settingup) {
    showSettings();
  }

  if (stopGoStatus){
    switch (runStatus) {
      case 0:       // start at fullSpeed
        motorControl.setPower(punchSpeed);
        motorControl.setState(ON);
        startTime = millis();
        runStatus = 1;
        stitchCount = 0;
        break;

      case 1:       // run at fullSpeed until high needle detected the set to start speed
         if ((stitchCount > 0)||(millis() - startTime > 50)) {
          motorControl.setPower(startSpeed);
          startTime = millis();
          runStatus = 2;}
      else { //PWM
      }
        break;

      case 2:       // run at start speed until start duration
        if ((millis() - startTime) > duration) {
          runStatus = 3;
          thisSpeed = startSpeed;}
        else { //PWM
         }
        break;

      case 3:       //start ramp up to run speed
        setRamp();
        setRunSpeed();
        startTime= millis();
        runStatus = 4;
        break;

      case 4:       //ramp up to run speed, by speedstep and interval
        thisTime = millis() - startTime;
        if (thisTime >= ramp) {
          startTime = millis();
          thisSpeed = thisSpeed + speedStep;
          motorControl.setPower(thisSpeed);
          if (thisSpeed >= runSpeed) {
            runStatus = 5;}
          }
        break;

      case 5:      //run at runspeed until hand interrupt
        setRunSpeed();
        motorControl.setPower(runSpeed);
        break;
    }
  }
  else
  {
    if (runStatus > 0 && runStatus < 6) { motorControl.setPower(startSpeed); runStatus = 6; startTime = millis(); stitchCount = 0; } else if (runStatus == 6){ if ((stitchCount > 0)||(millis() - startTime > 50)) {
        motorControl.setState(OFF);
        motorControl.setPower(0);
        runStatus = 0;
      }
    }
  }
}
void needleInterrupts() {
  stitchCount++;
}
void handInterrupts() {
  // set the stop go status to the opposite of the hand pin
  stopGoStatus = !digitalRead(handPin);
}
void footInterrupts() {
  // set the stop go status to the opposite of the foot pin
  stopGoStatus = !digitalRead(footPin);
}

void setRunSpeed () {runSpeed = map(analogRead(runSpeedPin),0,1023,punchSpeed,startSpeed);}
void setStartSpeed () {startSpeed = map(analogRead(startPin),0,1023, maxStart,stallSpeed);}
void setDuration () {duration = map(analogRead(durationPin),0,1023,maxDuration,minDuration);}
void setRamp() {ramp = map(analogRead(rampPin),0,1023,minRamp,maxRamp);}

void setParameters () {setRunSpeed(); setStartSpeed (); setDuration(); setRamp();}

void showSettings () {
    if ((abs(duration - lastDuration) > 5) || (startSpeed != lastStartSpeed) || (ramp != lastRamp) || (runSpeed != lastRunSpeed)) {
      Serial.print (" Start Speed "); Serial.print (startSpeed); Serial.print (" - "); Serial.print (lastStartSpeed);
      Serial.print (": Duration "); Serial.print (duration); Serial.print (" - "); Serial.print (lastDuration);
      Serial.print (": Ramp "); Serial.print (ramp); Serial.print (" - "); Serial.print (lastRamp);
      Serial.print ("; Run Speed "); Serial.print (runSpeed);
      Serial.println (" ");
      lastStartSpeed = startSpeed;
      lastDuration = duration;
      lastRamp = ramp;
      lastRunSpeed = runSpeed;
    }
}