Hermes – more progress
The boat shuttle looked good but had a lot of resistance, so it was deep cleaned, the adjuster screw removed and the spring folded out and 120 years of solidified oil and felt removed. The sliding surfaces of the tension spring and the shuttle were properly cleaned and polished to reduce unwanted friction on the thread. Threading a bobbin into the boat shuttle is a bit complicated, but I found a couple of videos and a manual for a Frister and Rossman machine of a similar era, and managed to come up with a good method. I might do a video on this sometime, I have come across misinformation on this in a couple of videos already.
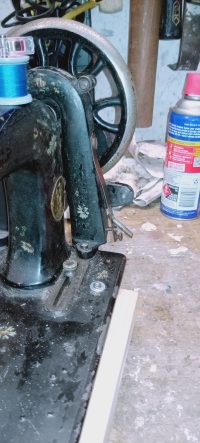
I removed and cleaned up the bobbin winder mechanism, and straightened the main pivot bolt and the adjusting screw which had been damaged, possibly when the machine was dropped I also removed and cleaned the handcrank, including polishing the shiny bits, like the balance wheel.
The bobbin winder attaches to the belt guard, which had also been damaged.
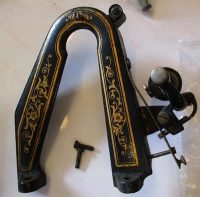
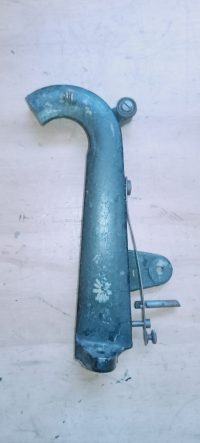
These two photos show what the belt guard should look like, and what my damaged example looks like. I am not yet willing to spend more than the machine cost to replace the guard, so I carefully measured and designed an extension to the half of the broken belt guard to make a complete belt guard. This I printed on my 3D printer, and joined them together.

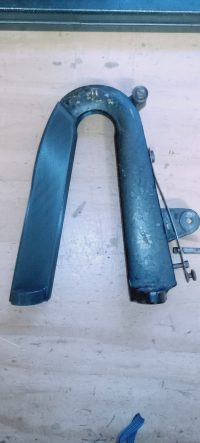
The first photo shows my draft template, the completed 3d print and the damaged belt guard. The second shows the newly completed belt guard.
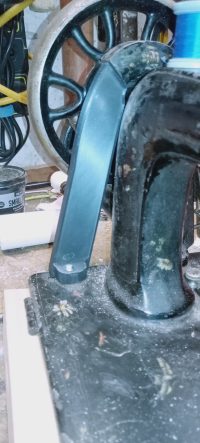
Pictures of the new guard on the machine. Net result is a bobbin winder that works as intended!
And a short video of the #D print process. It took 3.5 hours to print, so I had to shorten it a bit.